
Toyota Courtesy Switch Replacement 84231-53010
If your sliding door easy closer is not working, and the courtesy light fails to turn on when the door is open, the problem may be a faulty courtesy switch. In my case, replacing this small switch completely restored the easy closer and footlight functions on the passenger-side sliding door.
This guide walks you through the process step by step and includes practical tips to help you avoid common mistakes.
Symptoms of a Faulty Courtesy Switch
Before replacing anything, check whether your vehicle shows these symptoms:
- The easy closer on the sliding door stops working
- The courtesy light does not come on when the door is open
- The switch works intermittently when touched or moved
- There may be water or moisture inside the switch
- Related interior lighting, such as footlights, may also stop functioning properly
If these signs sound familiar, the courtesy switch is a strong suspect.
Part Identification
For this repair, the part I needed was:
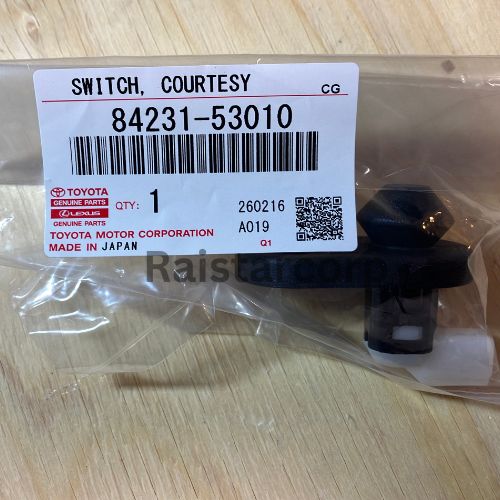
- Courtesy Switch Part Number: 84231-53010
Important: The front courtesy switch may use a different part number, so be sure to confirm compatibility for your exact vehicle model before ordering.
For my vehicle, information on the 200 series was limited, but I found useful reference material from the 100 series, which appeared to use a similar design.
Tools and Materials Needed
Before starting, prepare the following:
- Replacement courtesy switch
- Torx screwdriver or Torx bit
- Trim removal tool
- Small flashlight
- Clean cloth or paper towel
- Optional: gloves for better grip and hand protection
Step-by-Step Courtesy Switch Replacement
Confirm the Problem
Start by checking whether the courtesy switch is actually causing the issue.
- Open the sliding door
- Check if the courtesy light turns on
- Inspect the switch area
- Remove the rubber seal around the switch if necessary
- Press or wiggle the switch gently
If the light flickers on and off or water drips out, the switch is very likely faulty.

- Moisture inside the switch is a major warning sign. Corrosion or water intrusion can interrupt the electrical contact and stop the easy closer from working properly.
- Once you’ve identified the switch as the issue, order the correct replacement. Online ordering is convenient, but be sure to confirm quantity and compatibility before checkout.
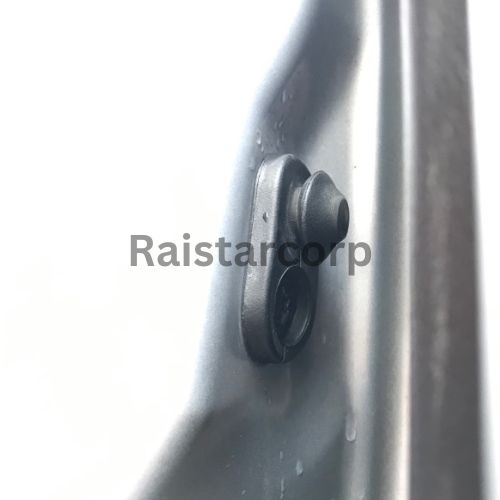
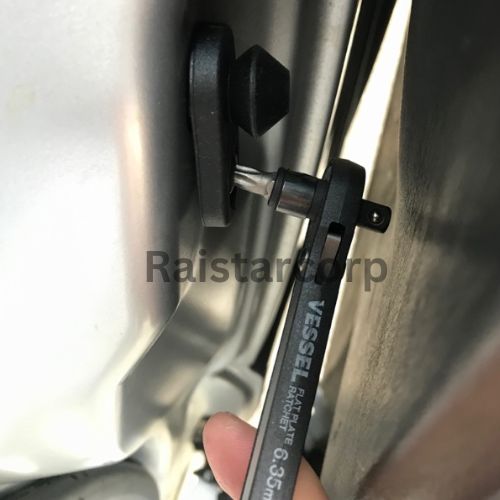
Remove the Old Courtesy Switch
This part can be awkward because space is limited.
- Locate the courtesy switch on the sliding door
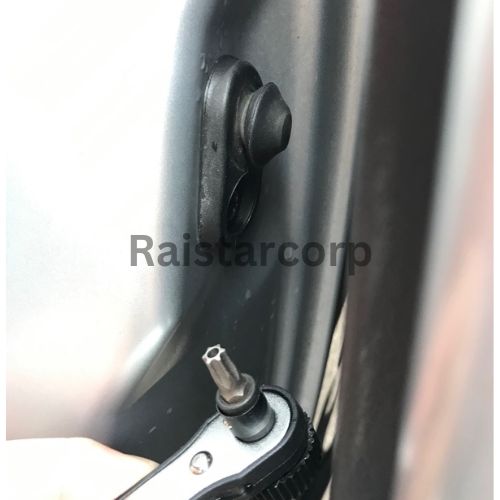
- Use the correct Torx tool to remove the screw or screws
- Carefully pull the switch out
You may find that the space between the door and window is tight, making tool access difficult. Work slowly to avoid stripping the screw or damaging the surrounding trim.
Warning:
Do not force the switch out too aggressively. The wiring behind it may be short and difficult to retrieve if it slips back inside.

Inspect for Water Damage
After removing the switch:
- Check for moisture, rust, or corrosion
- Dry the surrounding area if needed
- Inspect the connector and wiring
In my case, the old switch had clearly been exposed to water. This was likely caused by one of the following:
- Condensation from sleeping in the car
- Rain entered when the door was slightly open
- Moisture buildup from using the interior space while cooking
If you see signs of water damage, it’s worth addressing the source to prevent the same issue from happening again.

Access the Connector
This was the trickiest part of the job.
- The connector may sit deep inside the panel
- Remove any necessary interior trim carefully
- Use a flashlight to locate the wiring
- Hold onto the cable so it does not slip back inside
Because the wire can be short, patience is essential here.
Tip:
If possible, keep one hand on the wire while disconnecting the old switch and attaching the new one.


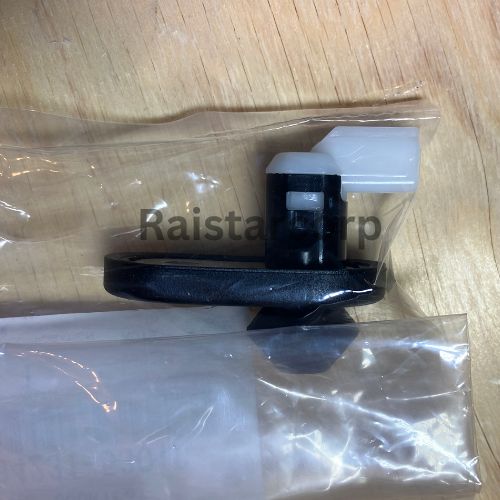
Install the New Toyota Courtesy Switch
Once the connector is accessible:
- Disconnect the old switch
- Connect the new courtesy switch
- Position it correctly in the mounting location
- Reinstall the Torx screw or screws securely
Make sure the new switch matches the old one in shape, connector type, and fit.
Reassemble the Interior
After installing the new switch:
- Refit any trim pieces you removed
- Reinstall the rubber seal
- Check that everything sits properly
- Confirm no wires are pinched
Some panels may feel stiff when going back into place, so apply steady pressure rather than forcing them suddenly.

Test the Repair
Now test the system before calling the job finished.
Open and close the sliding door and check:
- Does the courtesy light turn on?
- Does the easy closer function properly?
- Are the footlights working again?
If all three are working, the repair was successful.
Why the Courtesy Switch Affects the Easy Closer
The courtesy switch may seem like a minor part, but it plays an important role in the door system. It helps the vehicle detect whether the door is open or closed. When the switch fails, the vehicle may not receive the correct signal, which can interfere with systems such as:
- Easy closer operation
- Courtesy lighting
- Footwell or step lighting
- Door status detection
That is why replacing this inexpensive switch can solve what feels like a much bigger sliding door problem.
Common Challenges During This Repair
Here are the main difficulties I ran into:
- Tight working space
- Torx screws instead of standard screws
- Deep, hard-to-reach connector
- Short wiring harness
- Stiff trim pieces during reassembly
None of these are impossible to deal with, but they can make the repair more frustrating than expected.
DIY Repair Lessons Learned
This small repair taught me a few useful things:
1. Diagnose before buying
A quick inspection can save time and help avoid unnecessary parts purchases.
2. Always confirm the part number
Even similar-looking switches may not be the same.
3. Expect hidden difficulty
A small part does not always mean an easy job.
4. Be patient
Most of the work is not technically difficult; it just requires care and persistence.
Final Thoughts
If your sliding door easy closer stopped working, don’t assume the entire door mechanism has failed. A faulty courtesy switch may be the real cause, especially if the courtesy light is also not working.
In my case, replacing the Toyota Courtesy Switch restored everything perfectly. It took some patience because of the tight access and awkward connector placement, but the end result was absolutely worth it.
If you’re dealing with the same issue, this repair is well worth considering before moving on to more expensive fixes.
If you are interested in purchasing the Toyota Courtesy Switch, contact us.
Our team is ready to assist you with any inquiries you may have about our products and services. Don’t hesitate to reach out!
To view more repair guides, click this.