
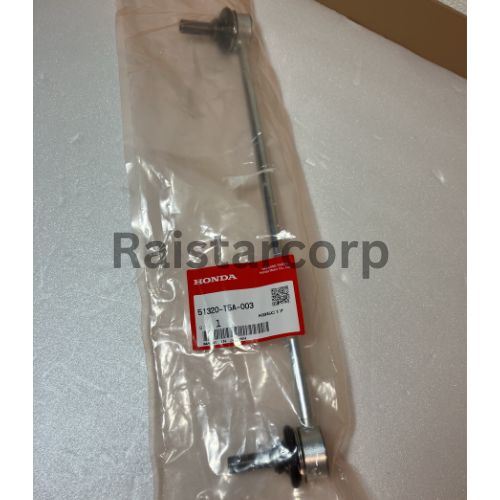
- Maker:- HONDA
- Part Numbers:-51320-T5A-003
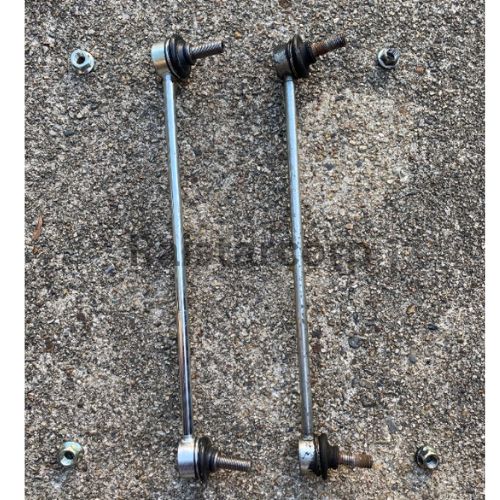
HONDA Stabilizer link rod
HONDA Stabilizer link rod replacement is a routine maintenance task aimed at addressing issues such as grease leaks or reduced performance. In this guide, we focus on replacing a damaged stabilizer link rod identified during a 24-month vehicle inspection.
Required Tools and Materials
- Replacement Parts:
- Stabilizer link rod (Left: 51325-T5A-003, Right: 51320-T5A-003)
- Nuts
- Tools:
- Impact wrench
- Hex wrench
- 14mm box ratchet
- Vice pliers
- Grinder (if necessary)
- Rubber protectant spray

Difficulty Level and Time Commitment
This task is suitable for beginners with basic mechanical skills. It typically takes around one hour, although complications may extend the time required.
Loosening the Nuts
Initially, use an impact wrench to loosen the nuts. Secure the screw portion with a hex wrench and use a 14mm box ratchet to steadily loosen the nut. Expect resistance with lock nuts, which may require additional force.
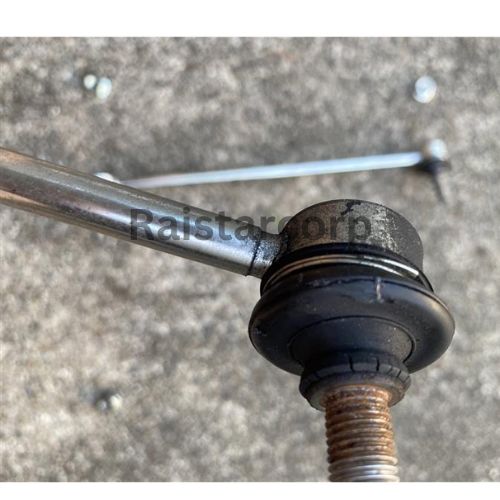
Removing the Damaged Link Rod
Once the nuts are loosened, compare the removed stabilizer link rod with the new replacement part to ensure compatibility. The left stabilizer link rod can usually be removed without difficulty.
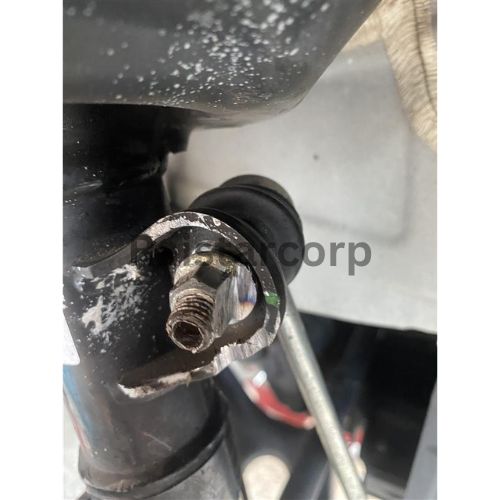

Addressing Challenges with the Right Side
If the right stabilizer link rod nut is extremely tight and the hex wrench attachment strips:
- Use a grinder to carefully file down the nut.
- Exercise caution to avoid damaging surrounding components.

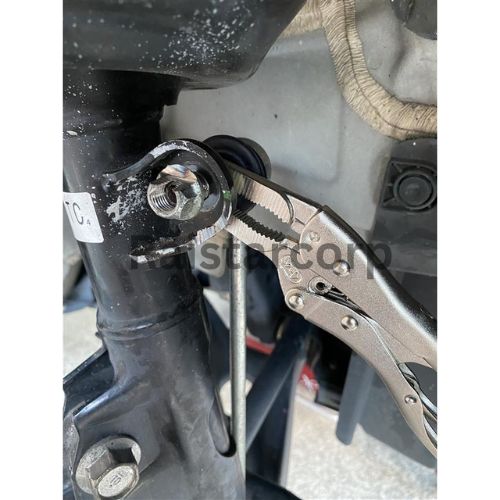
Removing Stripped Nuts
Clamp the back side of the stripped nut with vice pliers to prevent rotation. File down the nut further to facilitate removal.
Final Steps and Preventative Measures
After replacing both stabilizer link rods:
- Apply rubber protectant spray to key components to enhance longevity.
- Replace all nuts with new ones to prevent complications during installation.
Key Takeaways
- Regular inspection of stabilizer link rods helps identify issues early.
- Use genuine replacement parts for optimal performance.
- Invest in new nuts to avoid installation challenges.
- Specialized tools like grinders and vice pliers can resolve stubborn issues, but use them carefully.
Conclusion
Replacing stabilizer link rods is a manageable task that significantly enhances vehicle safety and performance. By following this guide and adhering to best practices, you can successfully complete the replacement and extend the lifespan of your suspension system.
Thank you for your dedication to maintaining your vehicle’s performance. Your hard work ensures safer journeys ahead!
If you are interested in purchasing the HONDA Stabilizer link rod, contact us.
Our team is ready to assist you with any inquiries you may have about our products and services. Don’t hesitate to reach out!