
- Maker:-Mazda
- Model:-CX
- Part Numbers:-PE03-15-980C
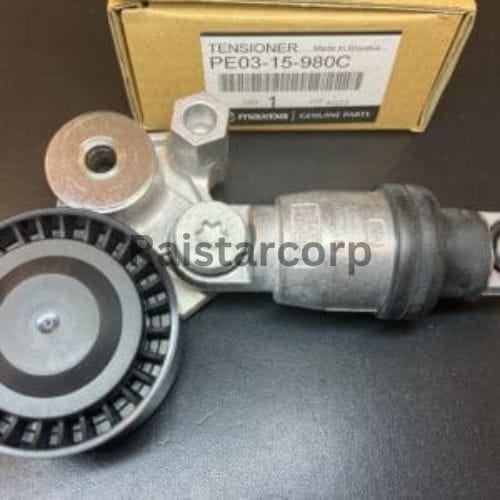
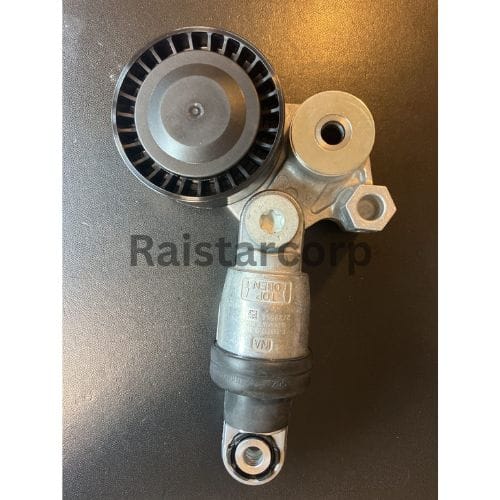
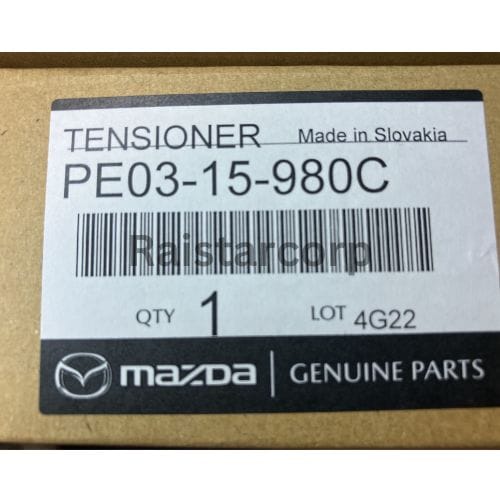
Is your Mazda CX making unusual noises, or have you noticed a drop in performance? It might be time to replace the belt tensioner. This crucial component helps maintain the right tension on the serpentine belt, ensuring your engine runs smoothly. Let’s explore how to replace the belt tensioner (part number: PE03-15-980C) in an engaging and straightforward way!
Why Replace the Belt Tensioner?
The belt tensioner plays a vital role in your vehicle’s performance. It keeps the serpentine belt tight, preventing slippage and ensuring that vital components like the alternator, power steering pump, and air conditioning compressor operate effectively. A worn-out tensioner can lead to belt wear, poor engine performance, and even engine damage. By replacing it, you’ll enhance your Mazda’s reliability and longevity!

Mazda CX belt tensioner replacement-PE03-15-980C
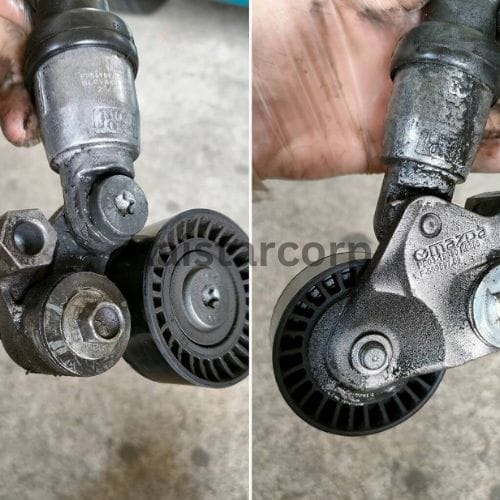
Preparation for Mazda CX belt tensioner replacement-PE03-15-980C
Start by parking your Mazda CX on a flat surface. Turn off the engine and engage the parking brake. For added safety, disconnect the battery to prevent any electrical issues during the replacement.
Lift Your Vehicle
Using a jack, elevate the front of your Mazda CX and secure it with jack stands. This will provide you with ample space to work comfortably underneath the vehicle.
Locate the Belt Tensioner
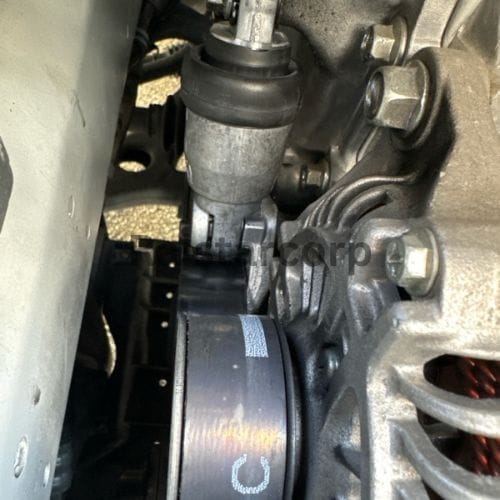
Open the hood and locate the serpentine belt tensioner. It’s usually positioned near the front of the engine, connected to the serpentine belt.

Release Tension on the Belt
Using your belt tensioner tool or a ratchet, carefully rotate the tensioner to relieve tension on the serpentine belt. Once loose, slide the belt off the tensioner pulley. Take note of the belt routing for reinstallation.
Remove the Old Tensioner
With the belt removed, you can now detach the old belt tensioner. Use your socket set to remove the bolts securing it to the engine. Carefully pull the old tensioner out of its position.

Install the New Belt Tensioner
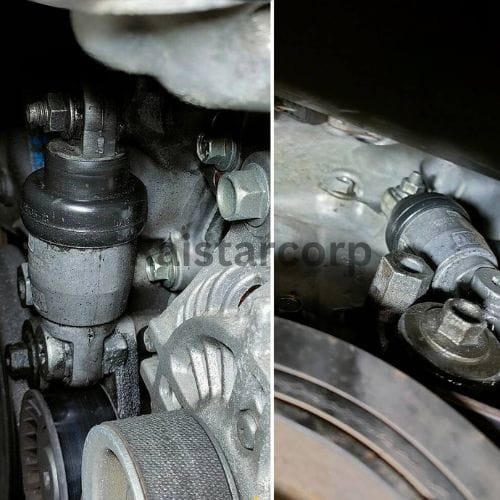
Now it’s time for your new tensioner (PE03-15-980C)! Position it where the old one was removed and secure it using the bolts you just took off. Tighten them to the manufacturer’s specifications using a torque wrench. Refer to the belt routing diagram and reinstall the serpentine belt over the new tensioner. Ensure it sits properly in all the pulleys.

Restore Tension
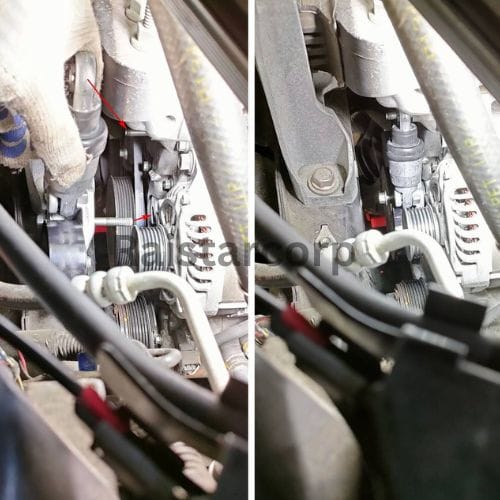
Rotate the tensioner again using your tool to apply tension to the belt. Make sure the belt is securely in place on all pulleys.

Final Checks
Before lowering your vehicle, double-check that everything is securely fastened and that the belt is properly routed. Reconnect the battery and start the engine. Listen for any unusual noises and observe the belt’s operation.
Lower the Vehicle
Carefully lower your Mazda CX back to the ground using the jack. Once stable, take it for a short test drive to ensure everything is functioning smoothly.
Conclusion
Replacing the belt tensioner on your Mazda CX is a rewarding task that can significantly improve your vehicle’s performance and reliability. By following this guide, you not only enhance your car’s longevity but also gain valuable hands-on experience. If at any point you feel uncertain, don’t hesitate to consult a professional mechanic. Enjoy the drive, knowing your Mazda is running at its best!
To view more repair guides, click this.