
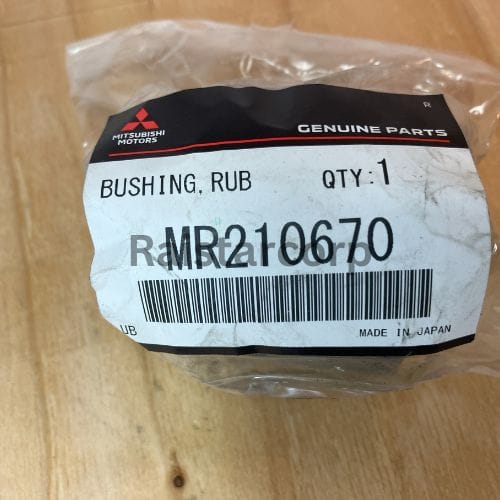
- Maker:-Mitsubishi
- Modal:-Pajero
- Part Numbers:-MR210670

Why Replace the Rear Lower Arm Front Bush
The rear lower arm front bush is a small but mighty component of your vehicle’s suspension system. It ensures stability, absorbs shocks, and keeps your ride smooth. Over time, wear and tear can cause the bush to degrade, leading to issues like:
-
- Rattling noises
- Poor handling
- Reduced suspension performance
By replacing it, you’re not just improving your car’s performance you’re extending its lifespan.
Tools You’ll Need
Before diving in, gather these essentials:
- Two 17mm wrenches or sockets (for bolt removal)
- Screwdriver (for inspection)
- Press machine (or a trusty large hammer as an alternative)
- Replacement bush ( item number MR210670 )
- Jigs (to press the new bush into place)

Mitsubishi Rear lower arm front bush
Remove the Rear Lower Arm
- Safely elevate your vehicle using a jack or lift. This step is crucial for proper clearance.
- Locate the rear lower arm and remove it by unscrewing the two 17mm bolts holding it in place.
- Once removed, inspect the arm and bush for damage.
Safety First: Always ensure your car is stable before working underneath it.

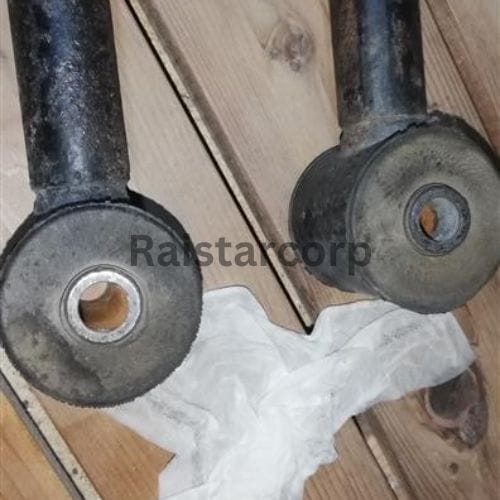
Inspect the Old Bush
- Even if your car isn’t rattling, closely examine the bush for signs of wear.
- Use a screwdriver to gently pry around the edges of the bush. Look for tears, cracks, or deformation these are clear signs it’s time for a replacement.
Remove the Old Bush
- If you have a press machine, apply around 2 tons of pressure to push out the old bush.
- No press machine? No problem! Use a large hammer to carefully knock it out. Rusty or stubborn bushes may require extra patience take your time to avoid damaging the arm.
Pro Tip: Apply a lubricant like WD-40 to make removal easier.

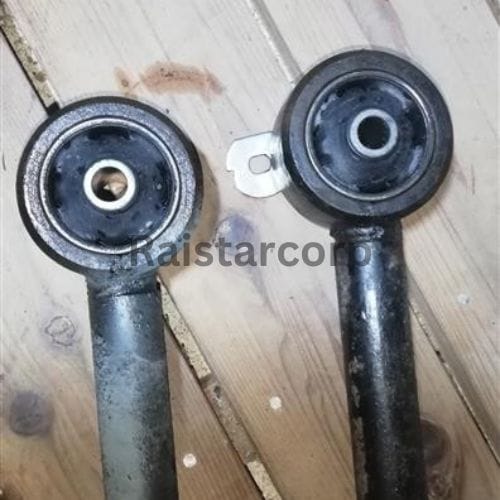
Prepare the New Bush
- Compare the new bush (e.g., MR210670) with the old one. Some designs may differ slightly, such as the addition of a “sugri” design a sign of updated specifications.
- Ensure the new bush is compatible with your vehicle before installation.
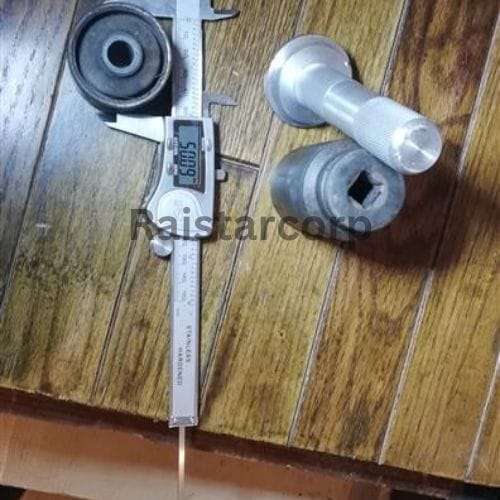
Install the New Bush
- Using jigs that match the bush’s diameter (e.g., 49.8mm), press the new bush into place.
- Make sure it’s seated evenly and securely. The back side of the bush should align perfectly with the arm to ensure proper fitment.

Reinstall the Mitsubishi Rear lower arm front bush
- Align the arm back into position and secure it with the 17mm bolts you removed earlier.
- Tighten everything securely and double-check for proper alignment.
Key Tips for Success
- Time-Saving Tip: With all tools ready, this process should take about 30 minutes.
- Measurements Matter: The outer diameter of the bush collar is typically 50mm, so ensure your jigs are the correct size.
- Double-Check Differences: If the new bush design differs from the old one, consult your vehicle’s manual or supplier for confirmation.