
- Maker:-Toyota
- Model:-C-HR
- Part Numbers:-60117-10010
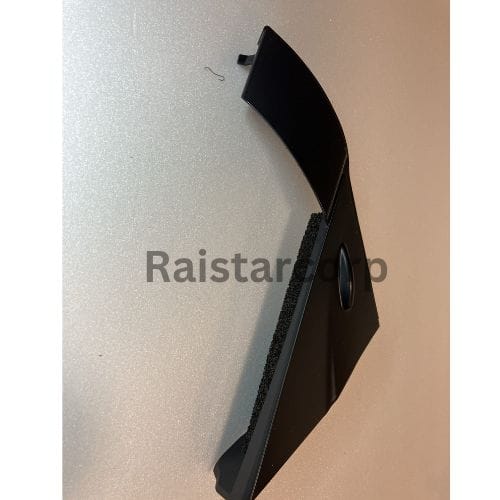
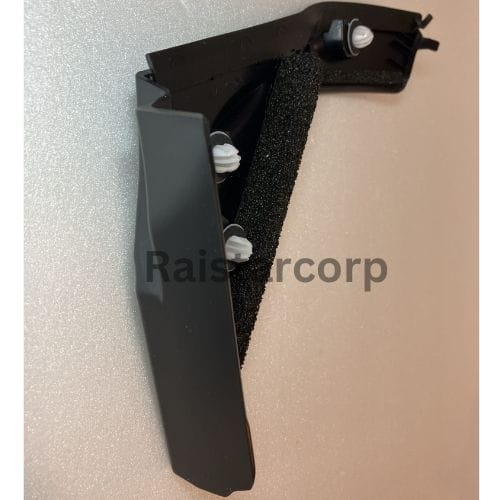
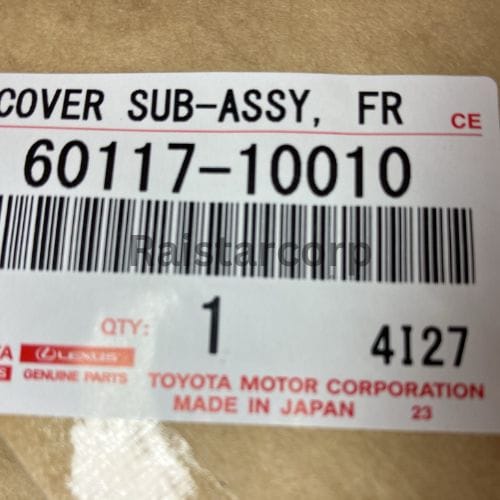
Preparation for Toyota C-HR COVER SUB-ASSY replacement-60117-10010.The need for replacing the Toyota Genuine COVER SUB-ASSY generally arises due to several reasons:
- Aesthetic Degradation: Over time, the cover may develop scratches, discoloration, or other forms of wear and tear, affecting the vehicle’s overall appearance.
- Physical Damage: Accidents or improper handling during previous repairs can lead to cracks or breaks in the cover, necessitating a replacement.
- Seal Integrity: The seals on the cover are crucial for preventing water and debris from entering sensitive areas of the vehicle. If these seals become compromised, replacement is necessary to maintain protection.
- Functional Upgrades: Owners might opt for newer parts to enhance the vehicle’s functionality or to align with updated design elements.
In essence, replacing the COVER SUB-ASSY ensures the vehicle remains in optimal condition both aesthetically and functionally.

Toyota C-HR COVER SUB-ASSY replacement-60117-10010
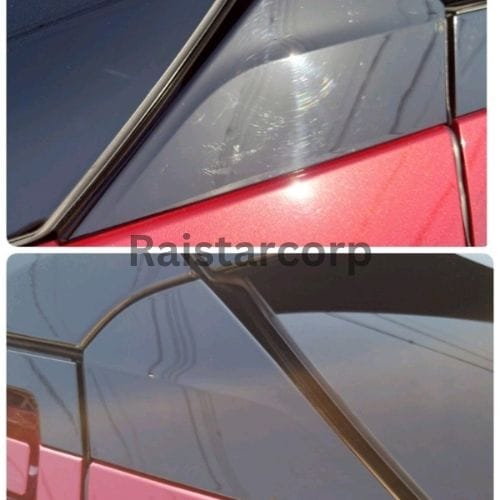
Product Introduction: Welcome to the Toyota Genuine COVER SUB-ASSY replacement journey! Let’s start by taking a closer look at the part we’re replacing.
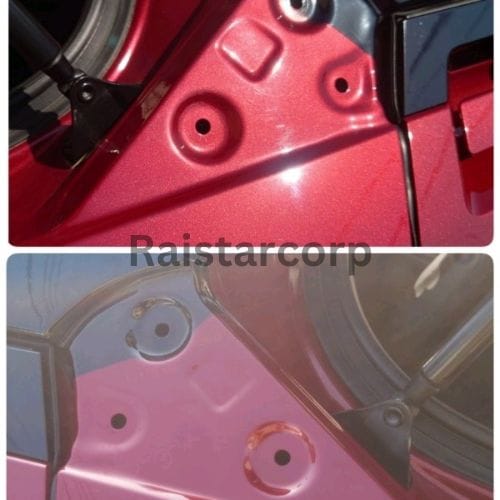
Before we begin, let’s assess the current condition. The panel shows signs of wear, with visible scratches and traces from previous removals. Notice the subtle scratch on the left side? It’s hardly noticeable unless you’re up close.

Removal Process
Time to remove the old panel! You’ll find a cushioned double-sided tape near the panel’s triangular apex. Once removed, this tape stays on the body, so peel it off carefully to reuse. Note that the clip on the opposite side also remains, leaving behind a sealing ring. Consider purchasing a spare seal clip to prevent water intrusion if you plan to remove and attach the panel frequently.
Step 4: Installing the New Cover
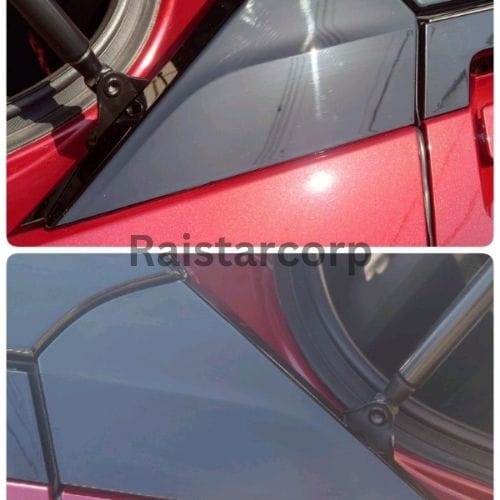
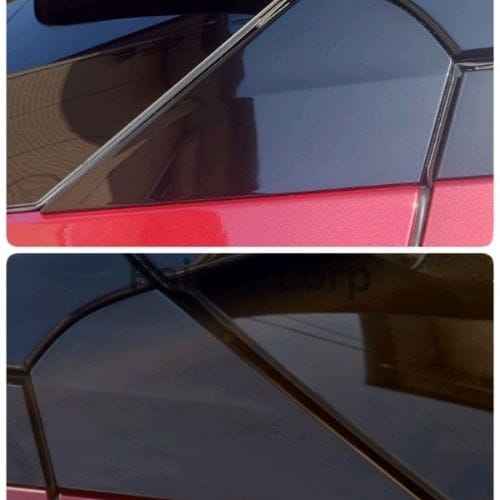
Now, let’s fit the new COVER SUB-ASSY. [View larger image]

Final Touches
Close the back door and admire your work. There’s nothing quite like the shine of a brand-new part. Enjoy the satisfaction of a job well done![View larger image]
Step 6: Reflecting on the Old Part
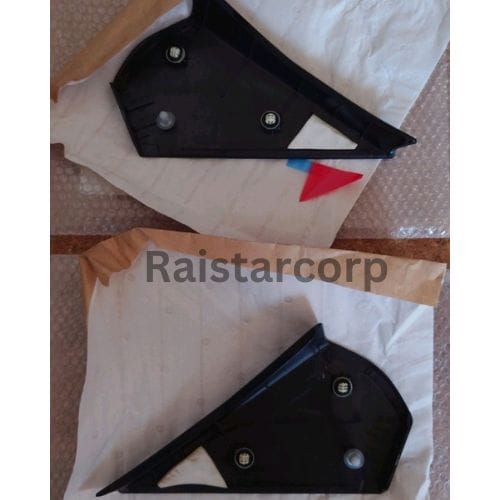
Here’s a look at the part we removed. After four years of service, it’s time for an upgrade. Note the clip without the black ring sticker—this was left on the body during removal. It’s different from the other clips, and the red triangular sheet is the protective film from the original double-sided tape.
Final Checks:
-
- Ensure everything is securely fastened and that there are no loose parts.
- Reconnect the battery.
- Check the alignment and stability of the new cover.
Clean Up:
-
- Dispose of the old cover and any debris from the installation.
- Store your tools and ensure the work area is clean.
To view more repair guides, click this.