
- Maker:-Toyota
- Model:-Corolla
- Part Numbers:-77350-12500
Repairs, Breakdowns, and Maintenance
Difficulty Level: Beginner
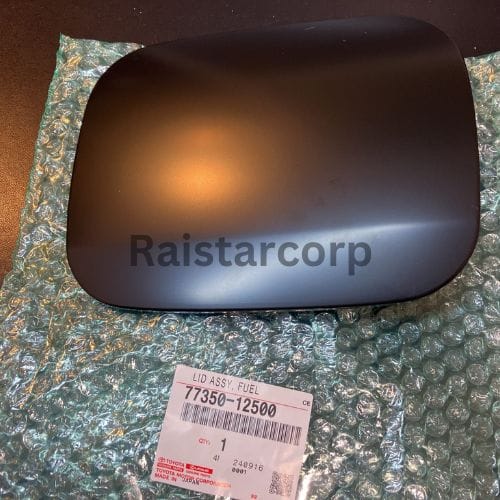
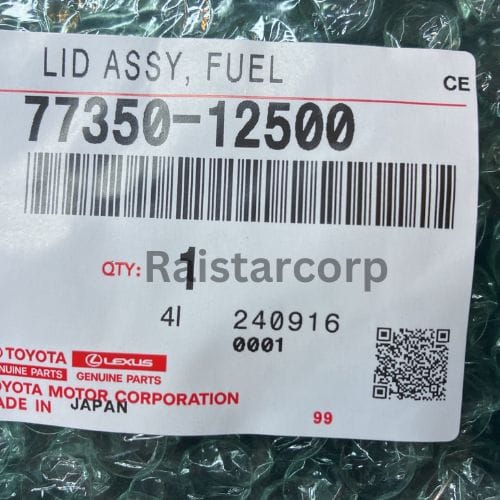
replacing parts like the fuel filler bracket in a vehicle, such as the Toyota Corolla, is important for several reasons:
- Safety: Ensuring that all components of your vehicle are in good working condition is crucial for safety. A misaligned or damaged fuel filler bracket could potentially lead to fuel leaks, which are hazardous.
- Functionality: Proper alignment and secure fitting of the fuel filler bracket ensure that the fuel cap closes correctly, preventing any fuel evaporation or spillage, which could affect fuel efficiency and the environment.
- Aesthetic and Structural Integrity: A well-maintained vehicle not only looks better but also maintains its structural integrity. Misaligned parts might lead to further wear and tear on other components.
- Resale Value: Keeping your vehicle in top condition helps maintain its resale value. Prospective buyers are more likely to pay a higher price for a well-maintained car.
- Preventive Maintenance: Addressing small issues like a misaligned bracket early on can prevent larger, more costly repairs down the road.

Toyota Corolla Fuel filler bracket replacement-77350-12500
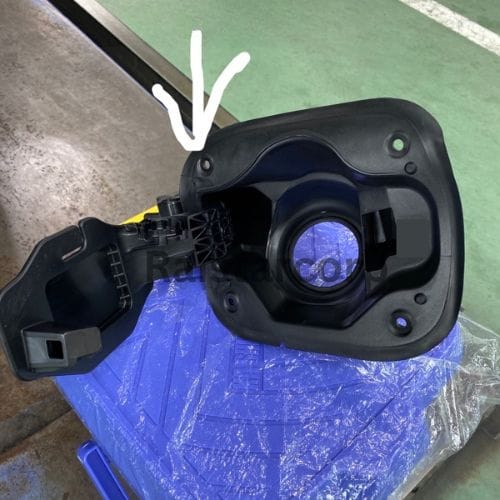
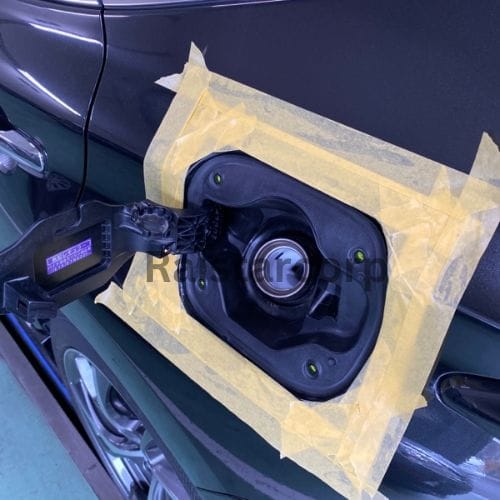
Preparation for the Toyota Corolla Fuel filler bracket replacement-77350-12500
Before you begin, ensure you have all the necessary tools and parts. Protect your car’s body with masking tape to avoid scratches during the process.
Removing the Old Bracket
Removing the old bracket can be tricky. There’s a C-ring nestled between the four screws, the fuel filler hole, and the bracket itself. Carefully lift the ring bit by bit until it’s free. This step might take some patience, but it’s crucial for a successful replacement.

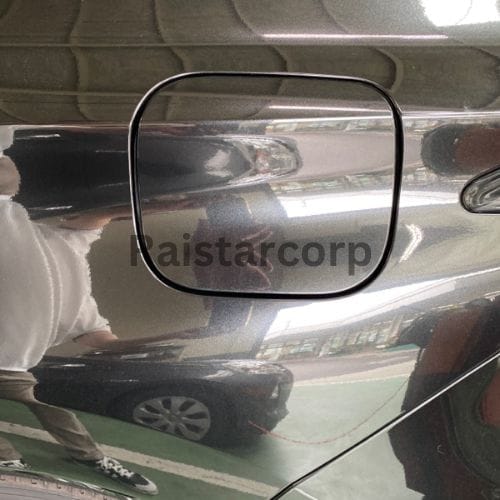
Installing the New Bracket: With the old bracket removed, install the new one by reversing the removal process. Ensure the fuel filler hose is securely attached to the new bracket inside the body.
Testing the Installation: After installation, test the fuel filler opener button from the driver’s seat to confirm the lock release works properly. Check for any clearance issues on all sides of the bracket.

Final Thoughts
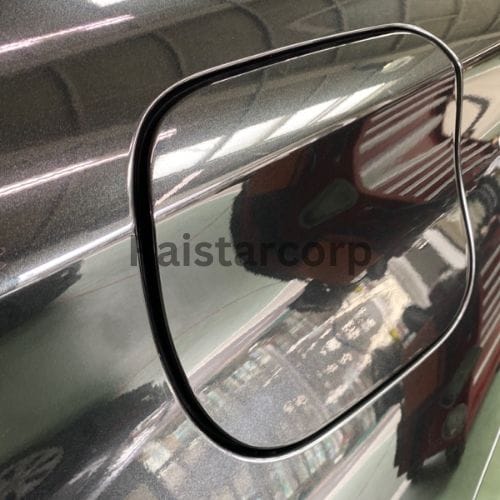
Once replaced, the new bracket should align perfectly, giving your Corolla a seamless look from every angle. If you notice the lid appears slightly elevated when viewed from the side, rest assured it’s normal and doesn’t affect functionality.
To view more repair guides, click this.