
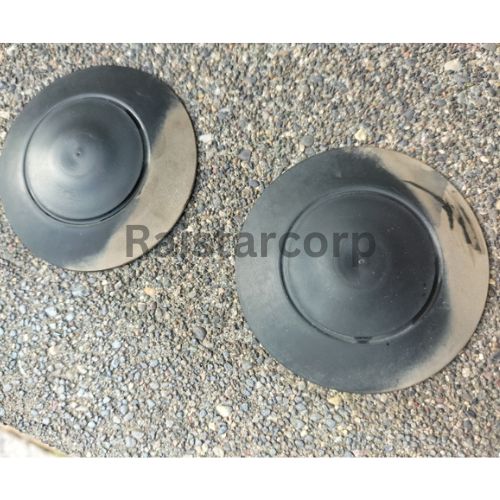
Toyota front suspension support dust cover
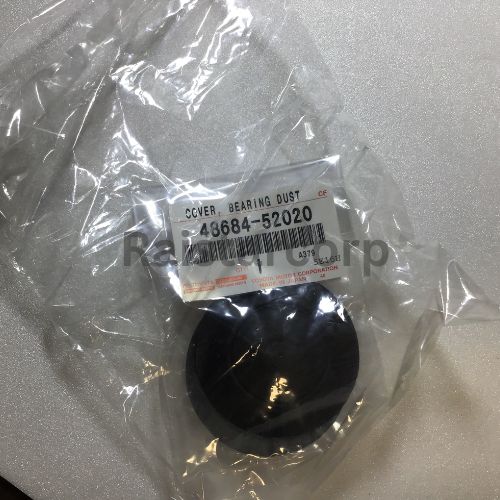
Protect your vehicle’s suspension system and ensure optimal performance with this step-by-step guide to restoring and installing the Toyota front suspension support dust cover (Part Number: 48684-52020). Whether you’re replacing a worn-out cover or restoring a used one, this guide will make the process simple and efficient.
Why Install a Dust Cover?
The front suspension support dust cover plays a crucial role in shielding your suspension system from rainwater, dirt, and debris. Proper maintenance of this component ensures longevity and smooth vehicle operation.
Quick Overview
- Purpose: Repairs, breakdowns, and maintenance
- Work Type: DIY
- Difficulty: Beginner
- Time Required: Within 30 minutes

Acquire the Dust Cover
- Recommended Option: Toyota front suspension support dust cover(48684-52020).
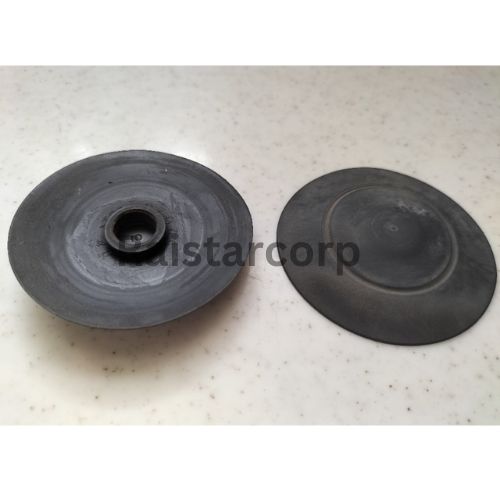
- Alternative: A used dust cover sourced from a junkyard can be restored, provided it’s not excessively worn or damaged.
Restore the Dust Cover
Revive the elasticity and appearance of the dust cover with the following steps:
Hot Bath:
- Soak the dust cover in slightly hot water for about 2 minutes to soften the material and loosen stiffness.
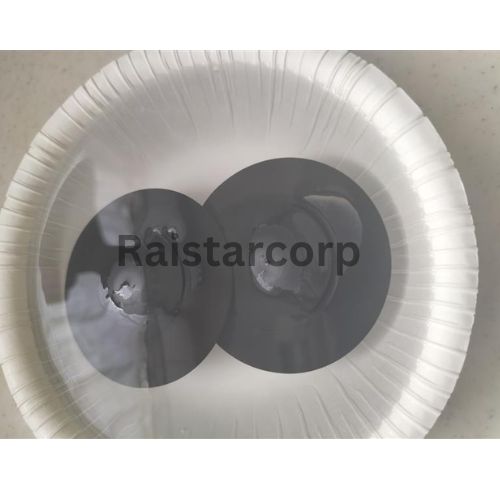
Cold Bath:
- Immediately immerse the dust cover in ice water to prevent hardening and retain pliability.

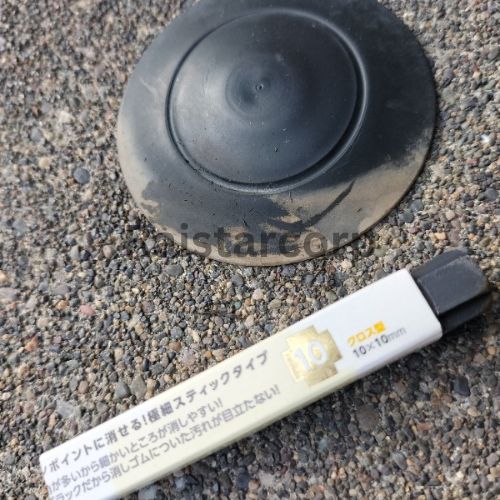
Scrubbing:
- Use an eraser or a gentle cleaning tool to remove dirt and grime.
- Restore the original black finish and the elasticity of the cover.

Inspect the Strut Area
- Examine the front suspension strut area for signs of rust or damage.
- Apply grease or rust prevention spray (e.g., Super Last Guard) to protect the area and ensure a smooth installation.


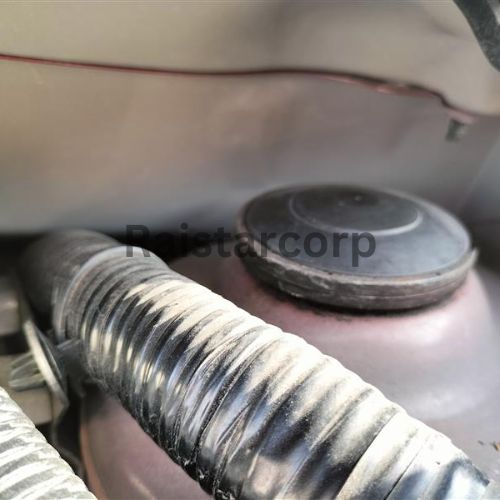
Install the Dust Cover
- Prepare the Area: Apply grease evenly to prevent future rust and ensure a smooth installation.
- Position the Cover: Place the dust cover over the top of the front strut.
- Secure in Place: Ensure the cover fits snugly and covers the area properly.
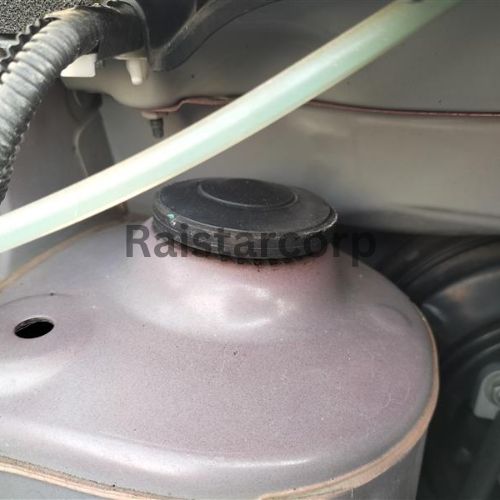

Final Inspection
- Verify that the dust cover is securely attached on both sides (driver’s and passenger’s side).
- Check for trapped moisture inside the cover and ensure the area is clean and dry.
Completion
Congratulations! You’ve successfully restored and installed the dust cover. Your suspension system is now protected, and your vehicle is ready for optimal performance.
Key Takeaways
- Restoring a used dust cover can be a cost-effective alternative to buying a new one.
- Regular maintenance of automotive components extends their lifespan and ensures smooth operation.
- Following preventive measures, such as applying grease, helps protect against rust and corrosion.
Maintain your vehicle’s integrity with proper care and attention to detail. This guide empowers you to take charge of your vehicle’s maintenance while saving time and money.
Conclusion
Restoring and installing the Toyota front suspension support dust cover is a straightforward yet impactful maintenance task that protects your vehicle’s suspension system from dirt, moisture, and rust. By following this guide, you’ve not only ensured the longevity of your vehicle’s components but also embraced a cost-effective and resourceful approach to automotive care.
Key benefits of this process include:
- Cost Efficiency: Reviving a used dust cover saves money while maintaining functionality.
- Enhanced Performance: Regular maintenance ensures smooth operation and protects vital systems.
- Preventive Care: Applying grease and inspecting for rust safeguards against future damage.
With attention to detail and proper care, you can preserve your vehicle’s integrity and enjoy optimal performance for years to come. Congratulations on successfully completing this essential maintenance task!
If you are interested in purchasing the Toyota front suspension support dust cover, contact us.
Our team is ready to assist you with any inquiries you may have about our products and services. Don’t hesitate to reach out!
To view more repair guides, click this.