
Toyota License Plate Lamp Assy

The Toyota License Plate Lamp Assy is a small yet vital component of your vehicle, ensuring your license plate remains visible in low-light conditions. Over time, these bulbs can burn out or malfunction, requiring replacement. This guide walks you through the replacement process with helpful tips and insights to make the task easier and more efficient.

Identifying the Issue
Signs of a Problem:
- Dim or non-functioning license plate light.
- Flickering, which may indicate a loose connection.
Troubleshooting:
- Start by inspecting the bulb. In my case, the bulb initially lit up after reinserting it, but the light stopped working shortly after.
- When attempting to remove the bulb, it was stuck firmly in the assembly, requiring me to remove the entire unit. Unfortunately, the bulb cracked during removal, confirming it was burnt out.

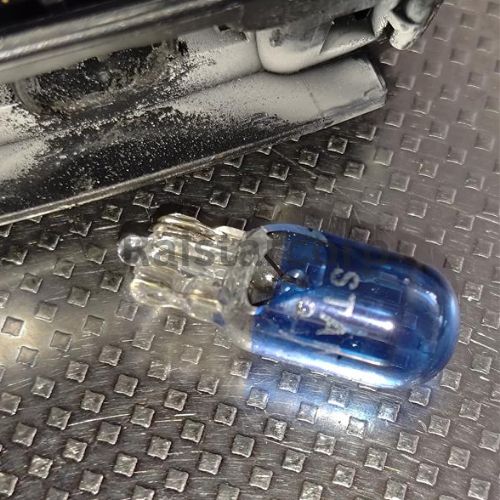
Choosing the Right Replacement Bulb
Once I confirmed the bulb was faulty, I decided to replace it entirely. While the old bulb seemed functional at first glance, replacing it along with its assembly (ASSY) ensured optimal performance and longevity.
Key Considerations:
- Uniform Brightness: Replacing only one bulb can lead to mismatched brightness, which affects the vehicle’s appearance. To avoid this, replace both bulbs simultaneously.
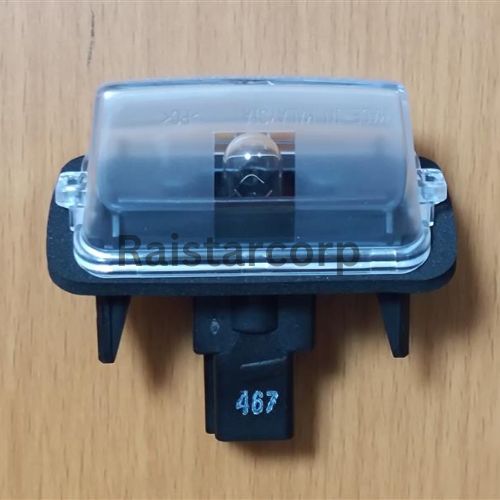
- Part Number: For my vehicle, the correct replacement part number was 81270-33081. Always verify the part number for your specific vehicle model.
Where to Buy:
- Initially, I purchased a bulb online, but later opted for an authorized dealer to ensure quality and compatibility.

Installing the New Bulb
Replacing the bulb required some disassembly of the vehicle’s interior. Here’s how I did it:
Tools Needed:
- Screwdriver or trim removal tool.
- Replacement bulb and assembly.
Step-by-Step Process:
- Access the Bulb Assembly:
- Remove the interior trim of the back door to access the bulb assembly.
- Detach the Lens and Bulb:
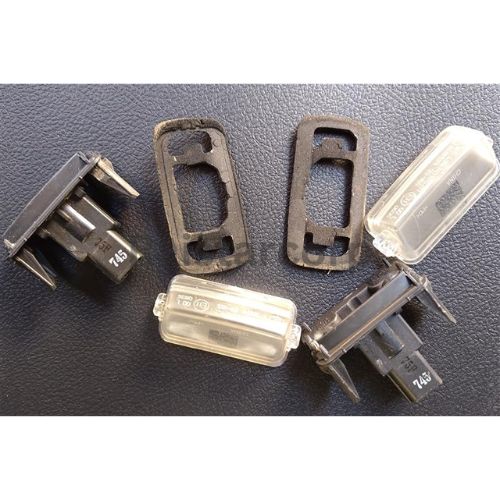
- Carefully remove the lens and bulb while leaving the black parts intact.
- This method avoids removing the rear garnish, which can be challenging to detach.
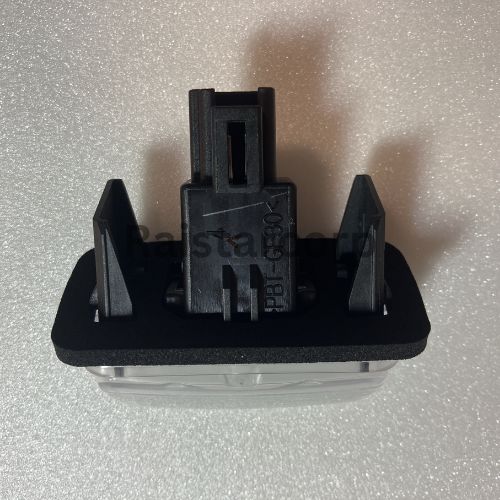
- Install the New Bulb Assembly:
- Insert the new bulb assembly into place. Ensure it fits securely and aligns properly.
Pro Tip:
If you’re unsure about disassembly, consult your vehicle’s manual or watch a tutorial specific to your car model.
Result:
The new bulb assembly restored full functionality and improved the vehicle’s appearance.
Observations and Insights
After replacing the bulb, I noticed the following:
- The old assembly had worn gaskets and yellowed lenses, which likely contributed to its failure.
- The new assembly not only worked better but also looked more aesthetically pleasing.
Common Issue:
- Vehicles like VOXYs often have one license plate light out, suggesting a common problem with their lighting systems.
Final Thoughts
Replacing a burnt license plate bulb is a simple but essential maintenance task. Here are some key takeaways:
- Regular inspection can prevent unexpected failures.
- Always replace both bulbs for uniform brightness and appearance.
- Handle components carefully to avoid damage during disassembly.
If you encounter difficulties or are unsure about the process, don’t hesitate to seek professional assistance. Keeping your vehicle in top condition ensures safety, compliance with road regulations, and a polished look!
Stay safe and drive with confidence!