
- Maker:-Toyota
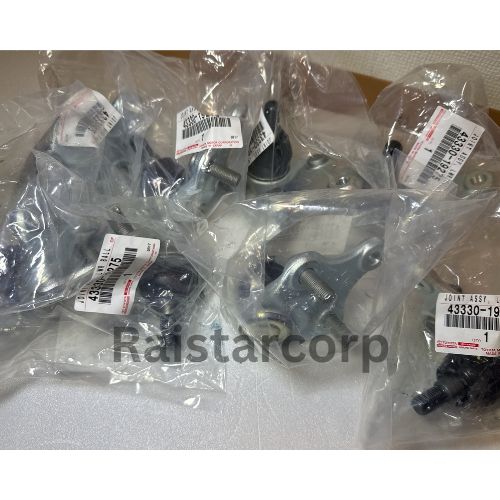
- Part Numbers:-43330-19275
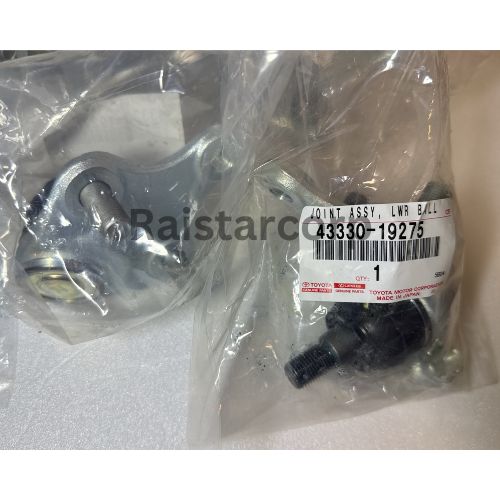
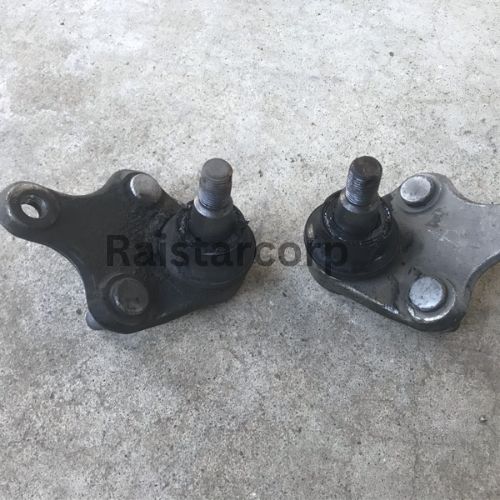
Toyota Lower ball joint assembly (part number 43330-19275) is a critical component of your vehicle’s suspension system. Its role is to connect the lower control arm to the steering knuckle, allowing smooth movement and proper alignment of the wheels. Here’s why replacing it is essential:
Tools Required
- Ball Joint Separator: A hammer-type separator is required as the drive shaft in the Prius α obstructs the use of a generic clip-type separator.
- General tools for jacking up the car and removing bolts.

Toyota Lower ball joint assembly
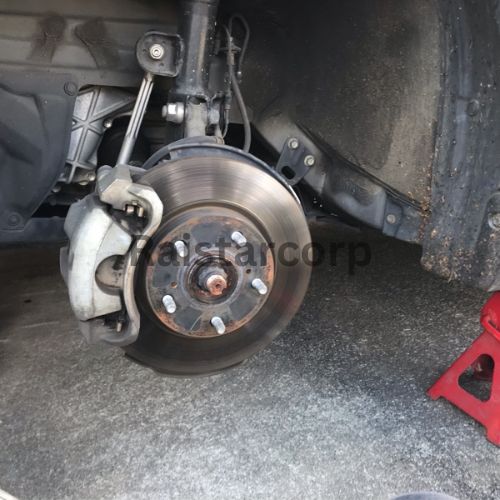
Preparation
- Jack up the car and secure it on a rigid rack.
- Remove the tire to access the lower ball joint assembly.
Remove the Lower Arm Bolts
- Locate the three bolts and nuts on the back of the lower arm.
- Remove these bolts and nuts.

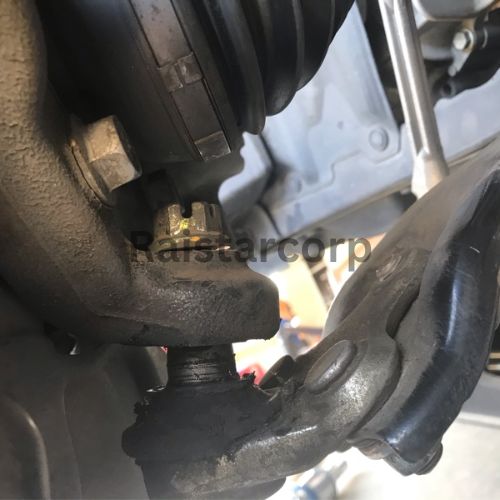
Loosen the Ball Joint Nut
- Locate the nut on top of the ball joint.
- Remove the cotter pin first, then loosen the nut.Tip: The top nut and cotter pin are typically new, so they should come off easily.
Partially Loosen the Upper Nut
- Do not remove the upper nut completely at this stage. Loosen it about halfway to secure the assembly during the next steps.

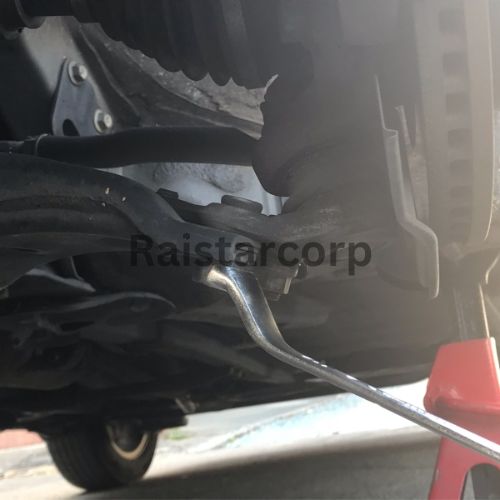
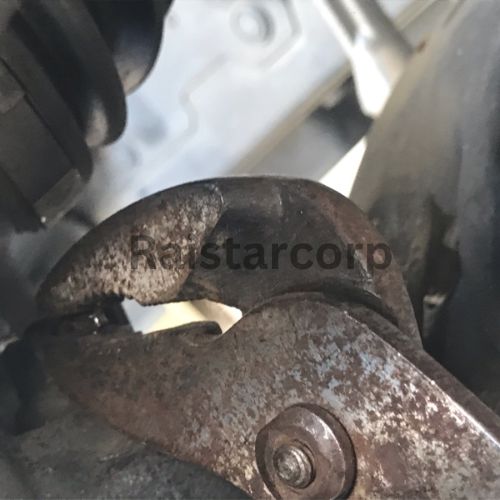
Separate the Ball Joint
- Insert the ball joint separator between the boot and the knuckle.
- Use a hammer to strike the separator carefully but firmly to dislodge the joint.Note: The assembly is tightly secured, so patience and precision are key.
Remove the Ball Joint Assembly
- With the assembly loosened, remove the upper nut completely.
- Push down on the lower arm and slightly move the knuckle to remove the ball joint assembly.
Install the New Ball Joint Assembly
- Install the new assembly in reverse order.
- Pay attention to the direction of the cotter pin during reassembly to ensure proper movement later.
Conclusion
Replacing the lower ball joint assembly is a critical maintenance task that ensures the safety and performance of your vehicle. By following this guide, you can complete the replacement process with the proper tools and attention to detail. Always remember to prioritize safety by using a rigid rack, securing the vehicle properly, and double-checking all bolts, nuts, and cotter pins after installation.
If you encounter any difficulties or are unsure about any step, don’t hesitate to seek professional assistance or consult reliable resources. Properly maintaining your vehicle’s suspension components will not only improve handling but also extend the lifespan of other related parts.
With the new ball joint assembly installed, your Prius α is ready for the road ahead. Safe driving!