
- Maker:-TOYOTA
- Models:- Auris, Blade, Camry, Corolla, Harrier
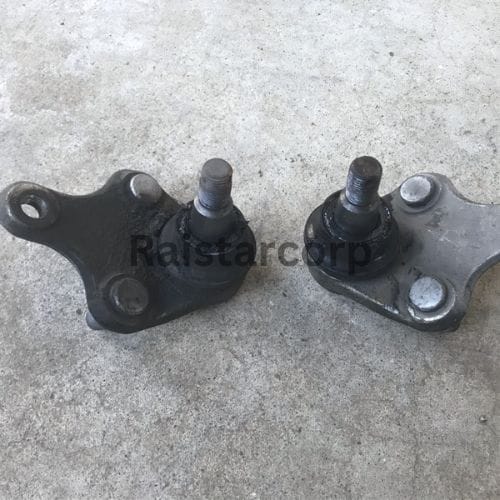
- Part Numbers:-43330-19275
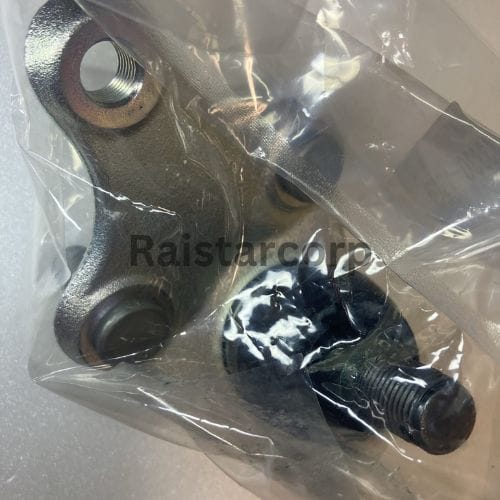
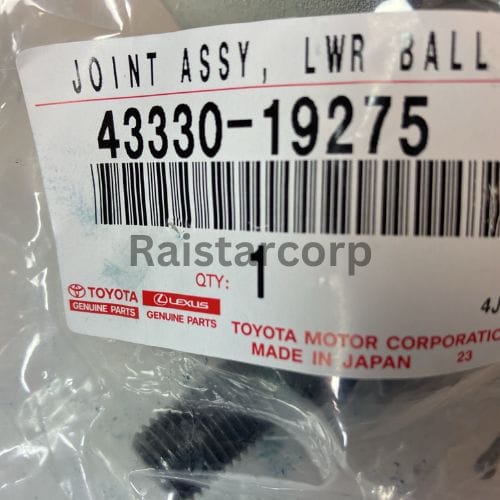
Are you ready to take your Toyota’s performance to the next level? One of the essential yet often overlooked components of your vehicle’s suspension system is the lower ball joint. This small but mighty part plays a crucial role in ensuring your vehicle handles smoothly and safely. If you’ve noticed signs of wear, such as clunking noises or uneven tire wear, it might be time to roll up your sleeves and replace that lower ball joint. Let’s dive into this engaging DIY guide!
Why Replace Your Lower Ball Joint?
The lower ball joint acts as a pivotal connection between your steering and suspension systems, allowing for seamless movement as you navigate the roads. Over time, wear and tear can lead to a compromised joint, affecting your vehicle’s handling and safety. By replacing it, you not only enhance your driving experience but also extend the lifespan of your tires and suspension components. Plus, tackling this job yourself

TOYOTA Lower ball joint replacement-43330-19275
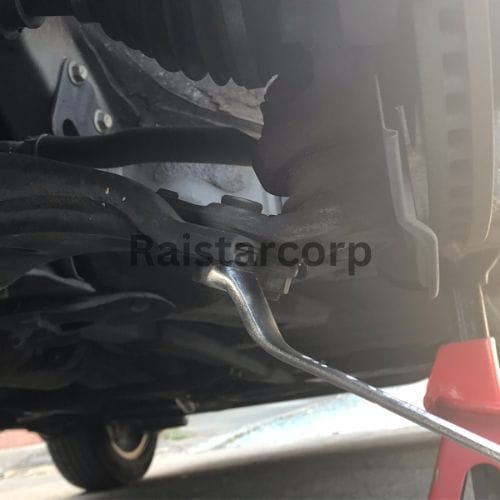
Preparation for TOYOTA Lower ball joint replacement-43330-19275 and Removal:
-
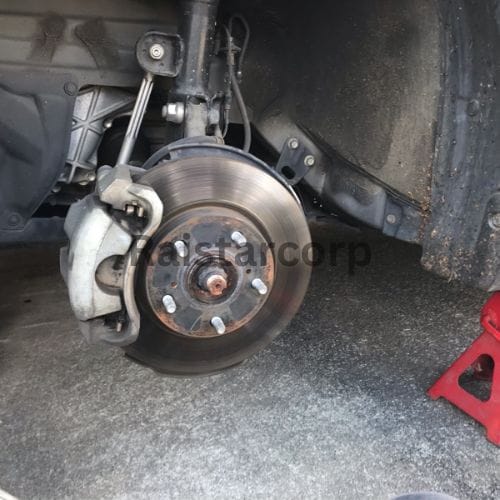
- Jack up the car, secure it on a rigid rack and remove the tire.
- Remove the three bolts and nuts from the back of the lower arm. Loosen the nut on the top of the ball joint after removing the cotter pin. Do not fully remove the nut; just loosen it halfway.

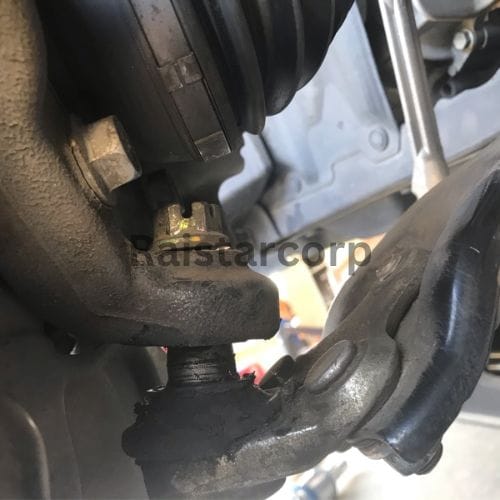
Using the Separator:
-
- Insert the ball joint separator between the boot and the knuckle. Strike it with a hammer to loosen the joint. Once loosened, remove the top nut completely and carefully remove the ball joint assembly without dislodging the drive shaft.
Assembly:
-
- Install the new ball joint assembly in the reverse order. Ensure the cotter pin is correctly positioned to allow for movement later.
To view more repair guides, click this.