
- Maker:-NISSAN
- Model:-Serena
- Part Numbers:-807314RK1A
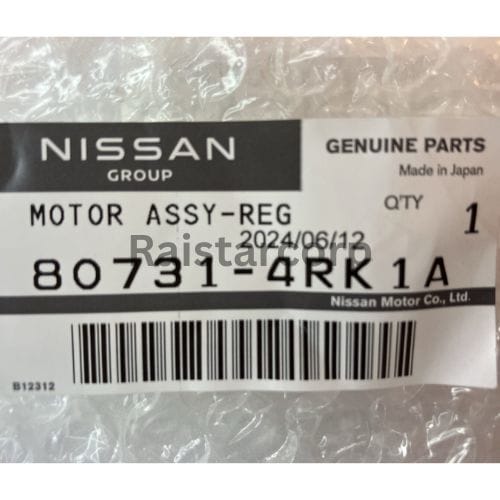
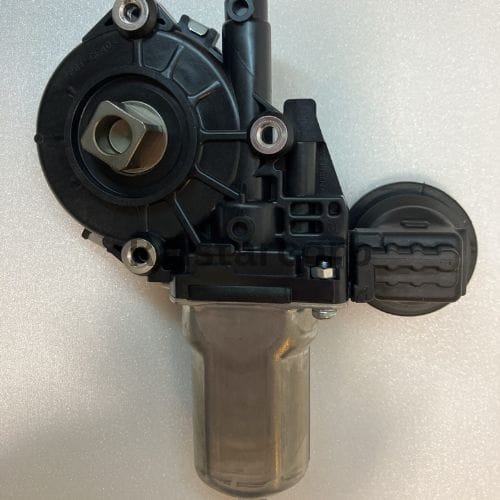

The replacement of the motor assembly regulator in a vehicle like the NISSAN Serena is important for several reasons:
- Window Functionality: The motor assembly regulator is responsible for the movement of the car windows. If it fails, you may experience issues such as windows not rolling up or down properly, which can be inconvenient and a security risk.
- Safety: Properly functioning windows are crucial for safety. In case of an emergency, being able to open or close windows quickly can be vital.
- Comfort: Windows that operate smoothly contribute to the overall comfort of the vehicle, allowing passengers to adjust ventilation and protect against weather elements.
- Vehicle Resale Value: Maintaining all components of your vehicle in good working order, including the window regulators, can help preserve its resale value.
- Prevent Further Damage: A malfunctioning regulator can lead to additional strain on the motor or even damage to the window itself, which can result in more expensive repairs if not addressed promptly.

NISSAN Serena MOTOR ASSEMBLY-REGULATOR Replacement-807314RK1A
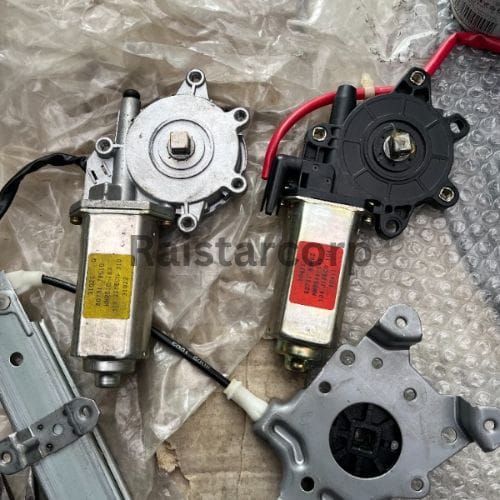
Preparation for NISSAN Serena MOTOR ASSEMBLY-REGULATOR Replacement-807314RK1A :
-
- Park the vehicle on a flat surface and turn off the engine.
- Disconnect the battery to prevent any electrical issues.

Access the Motor Assembly:
-
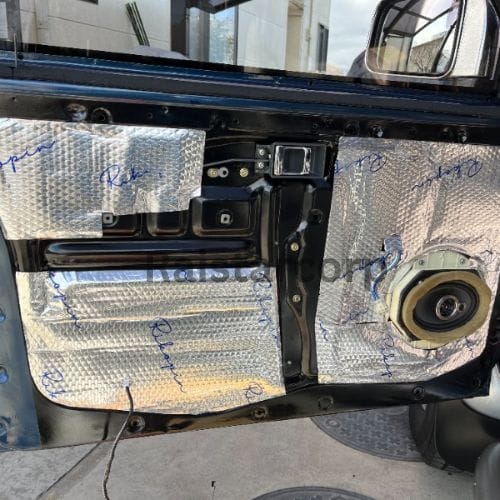
- Remove any interior panels or covers that obstruct access to the motor assembly.
- Use the trim removal tool to gently pry off any clips or fasteners.
Remove the Old Motor Assembly Regulator:
-
- Locate the motor assembly regulator (part number: 807314RK1A).
- Disconnect any electrical connectors attached to the motor.
- Use the socket set to remove screws or bolts securing the motor in place.
- Carefully pull the old motor assembly out of its position.
Install the New Motor Assembly Regulator:
-
- Position the new motor assembly where the old one was removed.
- Secure it using the screws or bolts you removed earlier, tightening them to manufacturer specifications.
- Reconnect any electrical connectors.

Final Checks:
-
- Ensure everything is securely fastened and there are no loose parts.
- Reattach any interior panels or covers that were removed.
- Reconnect the battery.
Test the Installation:
-
- Turn on the vehicle and test the motor assembly to ensure it operates correctly.
lean Up:
- Dispose of the old motor assembly and any debris from the installation process.
- Store tools and ensure the work area is clean.
To view more repair guides, click this.