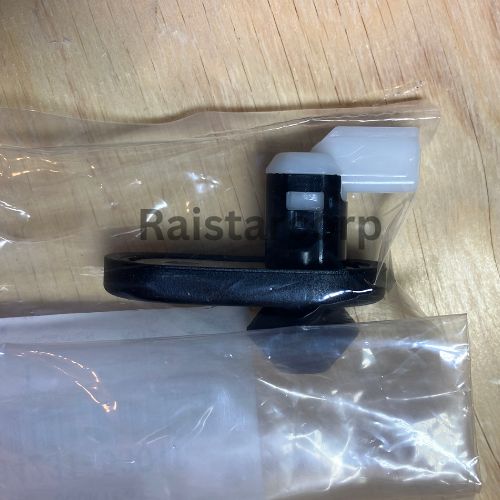
Replace and protect key suspension parts — the stabilizer link, tie rod ends and lower ball joints — and choose between genuine and aftermarket options.
Keeping your vehicle’s suspension in top shape isn’t just about comfort — it directly impacts safety, handling, and tire life. This guide walks you through replacing and protecting key suspension parts like tie rod ends, lower ball joints, and the Toyota stabilizer link, while helping you choose between genuine and aftermarket options.
Problem & symptoms
Worn suspension components can lead to:
- Poor steering response
- Uneven tire wear
- Vibrations and noise
- Reduced driving safety
Regular inspection and timely replacement can save money and prevent major repairs.
Possible causes
- Worn suspension components — stabilizer link, tie rod ends or lower ball joints.
- Damaged dust boots — check for small cracks and grease leaks.
Tools & materials
Tick items off as you gather them.
Safety & cautions
Ensure the link does not spin while tightening — use a hex key if needed.
On the tie rod end, insert the cotter pin if applicable.
After the job, check that all bolts are tight, test drive slowly and listen for noise or vibration.
Step-by-step instructions
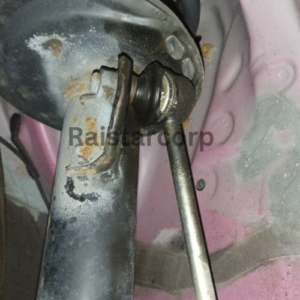
Clean the mounting points
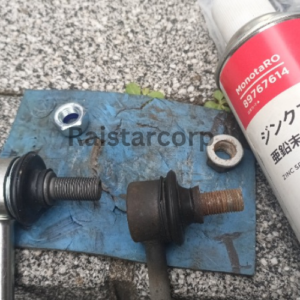
- Use a wire brush to remove rust, dirt and old zinc coating
- Clean threads thoroughly
This ensures smooth installation and proper torque.
Install the new parts
Toyota stabilizer link
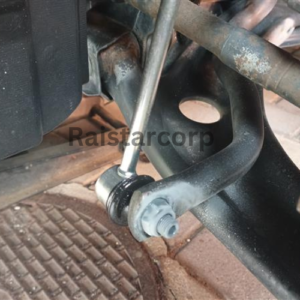
- Position link correctly
- Tighten nuts (use hex key if needed)
- Ensure no spinning during tightening
Tie rod end
- Screw into position (match original alignment)
- Tighten nut securely
- Insert cotter pin if applicable
Lower ball joint
- Mount into control arm
- Tighten bolts to spec
Protect against rust and wear
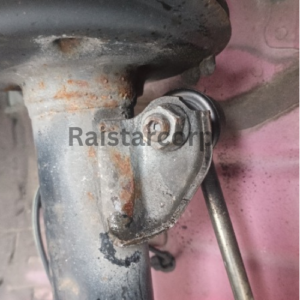
- Apply zinc spray to exposed metal
- Install dust boots (DC-2522, DC-1650, DC-2523)
- Reuse fixing rings carefully
- Apply rubber protectant to boots
Final check
- Ensure all bolts are tight
- Check for abnormal movement
- Test drive slowly
- Listen for noise or vibration


Smart maintenance practices
Even if parts look fine:
- Replace dust boots proactively
- Check for small cracks and grease leaks
- Inspect after vehicle inspections or every service interval
Final thoughts
Maintaining your suspension doesn’t have to be complicated. With the right parts, proper installation and preventive care you improve driving safety, extend component lifespan and reduce long-term repair costs. Whether you choose genuine or aftermarket parts, the key is consistent care and protection.
Before you start: this guide describes the author’s own repair. Always confirm the part number for your exact vehicle, and if you are unsure, consult a professional.