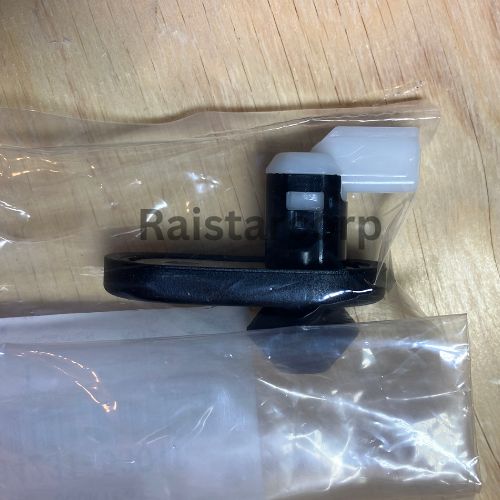
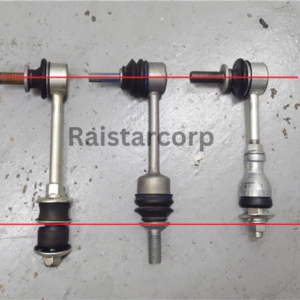
Build homemade stabilizer links with upper and lower ball joints, using the genuine 48820-26051 link, for better handling and adaptability.
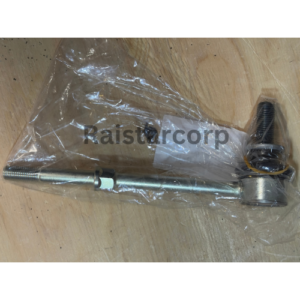
Upgrading your vehicle’s suspension doesn’t always require expensive aftermarket kits. With the right tools, parts, and a bit of mechanical confidence, you can build custom Toyota stabilizer links that improve handling and adaptability.
This guide walks you through creating homemade stabilizer links with upper and lower ball joints optimized for performance, flexibility, and cost-efficiency.
Why upgrade your stabilizer links?
Stabilizer links connect the sway bar to the suspension and help:
- Reduce body roll when cornering
- Improve vehicle stability
- Enhance overall driving control
Upgrading or customizing them can lead to better responsiveness and smoother handling, especially for modified or performance-oriented vehicles. Key benefits: improved articulation, adjustable length (if needed) and cost-effective customization.
Tools & materials
Core components
Tools & supplies
Supporting parts
Tick items off as you gather them.
Safety & cautions
Since this is a custom-built solution using mixed components, perform regular inspections, reapply grease periodically, consider anti-corrosion coatings and check for thread wear or loosening.
Always balance innovation with safety. If unsure, consult a professional before installation.
Step-by-step instructions
Modify the stabilizer link
- Carefully cut the original stabilizer link.
- Maintain the original length for compatibility.
- Prepare both ends to fit ball joints.
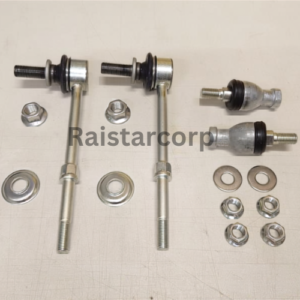
Create threads
- Use the tap and die set to cut threads.
Thread size M10 x P1.25Female thread depth 18mmScrew thread length 35mm (for nut locking)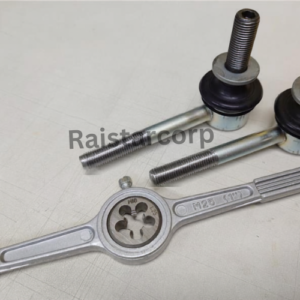
Install ball joints
- Attach the THK link balls to both ends.
- Apply Loctite 243 to prevent loosening.
- Secure with serrated flange nuts.
Final installation & torque specs
Tighten according to recommended torque:
Stabilizer side 80 Nm (14mm)Bushings 36 Nm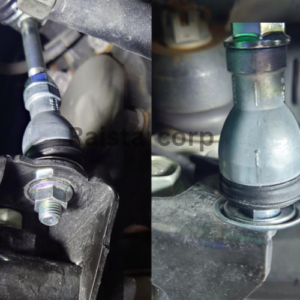


Durability & maintenance tips
- Perform regular inspections
- Reapply grease periodically
- Consider anti-corrosion coatings
- Check for thread wear or loosening
While performance can improve, longevity depends on maintenance and usage conditions.
Before you start: this guide describes the author’s own repair. Always confirm the part number for your exact vehicle, and if you are unsure, consult a professional.